


How to Make Embroidered Patches
February 03,2022
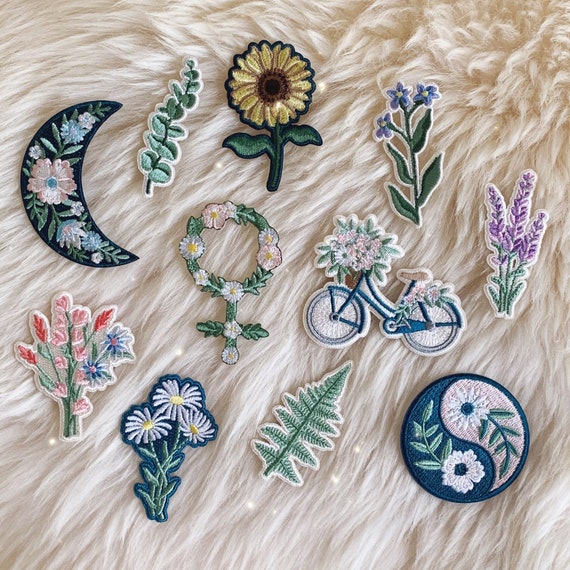
Embroidery is a colorful form of art articulated in clothing. It is a way of creating patterns and designs in different thread colors. Embroidery can be done with the hand alone or through using a machine. An embroidered patch, therefore, is an embroidery piece that has a fabric backing. These embroidery patch designs are then attached to clothes or any fabric.
According to history, the art of making embroidered patches is an old tradition. This art tradition is originally made by hand. The advancements of time and technology brought machine-made pieces that permit mass production on embroidered patches. Right now, there are more to a couple of ways how to affix embroidered patches. They can be sewn directly on fabric clothing or pinned. More advanced techniques are iron-on, velcro backing, and dry heat-activated adhesive.
At present, embroidered patches are popular across many forms of lifestyle. Mostly, younger generations love to go around and make use of these colorful embellishments. But as it can present any genre and identity, groups of users can be a surprise. Consequently, the market continually displays unique and eye-catching designs of embroidered patches.
Patch makers and suppliers are in great numbers present in the marketplace all the time. Choosing the perfect embroidered patches for you becomes easy. However, if you want to be a lot more unique and personally deal with what you think are the best custom patches for you, you can do it on your own!
Yes! Embroidered patches may look intricate. But you can have your way to it! How to make embroidery patches can be easy. But before delving into this exciting and colorful project, here are tips you have to consider first.

Choose to make it bold and simple. So, as we are making embroidered patches with our bare hands, choose an uncomplicated design. A more detailed, small, and fine specifics can make our project complicated. Remember, we are making it by hand, so opt for huge and more defined texts or shapes. This idea will also give us the privilege to display a clearer picture of our design.
The color scheme is important. A pro tip to everyone out there, you must use contrasting colors of threads when you are deciding to make your own designed embroidery patch. This decision will help your design pop out and stand out. One best example of contrasting colors is black and white.
Do not forget the border. A border concludes the whole thing, from keeping the loose threads concealed down to giving your design a defined frame. You have to take time to create and figure out how you can finish the overall look. Another point to make an embroidery patch and attain that perfect border for your embroidered patch is to pick that dominant color of your center design and make it your border’s thread color. In this sense, you make a complimentary perfect look for your patches.
If you have decided on your embroidery patch design and thread colors, shall we now proceed to your “making embroidery patches” project? So, here are ways how to make an embroidery patch.

Step 1. Gather all your materials first. You need to have the following (these are the basic embroidery materials that you need):
a. Your design patterns
b. Embroidery hoop/frame
c. Embroidery thread
d. Embroidery needles
e. Embroidery fabric
f. Light and magnification (optional)
Step 2. Decide on what part of the fabric you will put on your design. Position it on your hoop. Verify that you have the area you want your design to be inside the hoop circumference. Secure the frame lock.
Step 3. Transfer your design to your embroidery fabric. There are many ways to do it, depending on the available pattern you can provide. You can trace it on the cloth, or you can draw it on the fabric directly. Make sure your design is drafted on the material.
Step 4. Prepare your thread and needle. Advisably, start with the main or the center area design. This way, you can articulate it in much detail. You can use any embroidery stitches, depending on your preferences. Work all over to cover it wholly. Double-check if they are tight and sturdy enough.
Step 5. If everything is fully covered, remove it from the frame and start cutting its edges to your desired shape.
Step 6. Stitch in the edges to make a perfect border. Remember the above tip number 3.
Easy, right? We can make it easier for you by using an embroidery sewing machine! Take on these basic and simple steps to make an embroidery patch.
Step 1. Transfer your design to your fabric.
Step 2. Set your embroidery sewing machine’s stitch type, length, and width. These specifics depend on your design preferences.
Step 3. Sew around your fabric, covering all the desired layout.
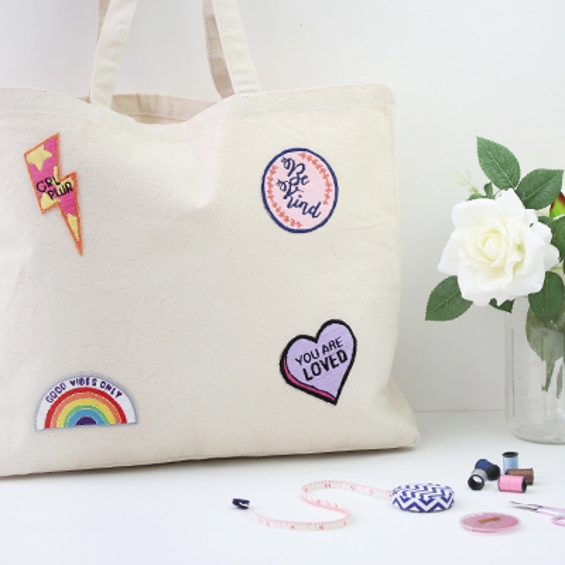
Now, let us turn these embroidered pieces into patches! You can opt to sew them directly to your fabric, but you can no longer remove them easily to transfer to another material, whether to a bag or jacket if you wish to. With that, you can choose to have it pinned instead. Attach a pin to the wrong side of your embroidered piece and pin it to your bag or jacket instantly. Another way is to use a fabric fuse or adhesive. Remove the paper sheet over the sticky side of the fabric fuse and stick it to the wrong side of your embroidered cloth. Make sure that your embroidered cloth and fabric fuse are in the same size and shape. Finally, if you have to attach it to a bag or jacket, remove the paper at the back of the patch and stick it on directly.
If this sounds fun and exciting, we are on for you. But if you want it more define and professionally made, you can talk to Shop Custom Patches. We offer the best custom patches for you. We make sure to give you that satisfaction you all deserve.
How? Here are 4 simple steps.
a. Go to our website and choose your specifics. The details should include design or layout sample, colors, size, and the type of backing.
b. Our design team will get back to you with the initial layout for your approval.
c. Once the design is approved, we will then start producing your embroidered patches.
d. Get ready to receive your patches right at your doorsteps.
What are the advantages of having 4inCustomPatch® as your patch maker?

a. Easy and fast transaction.
b. Free design layout with the professional art team.
c. We will give you the freedom to decide and create that perfect custom embroidered patch.
d. We deliver on time.
e. We guarantee customer satisfaction 100%.
f. We give you the lowest bulk price offer.
g. Hassle free, you just need to drop in your orders and wait for them to be delivered.
Create unique, professional-looking and high-quality custom embroidered patches with 4inCustomPatch®. You can never go wrong in dealing with us.