How To Iron On Patches
February 01,2022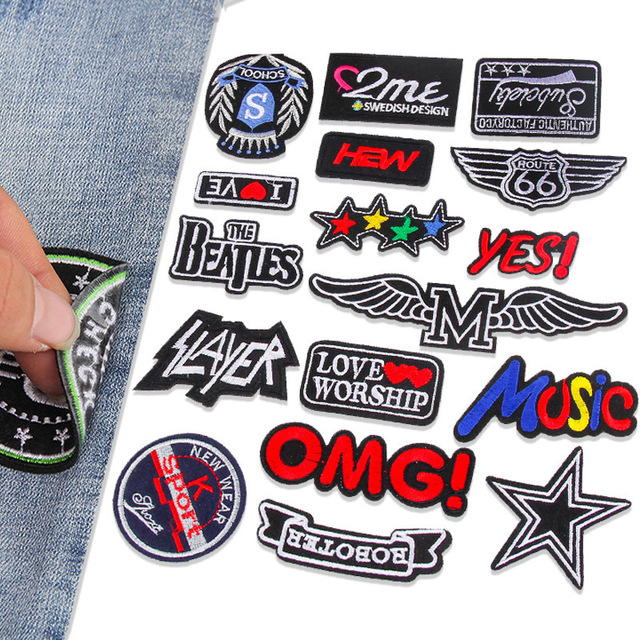
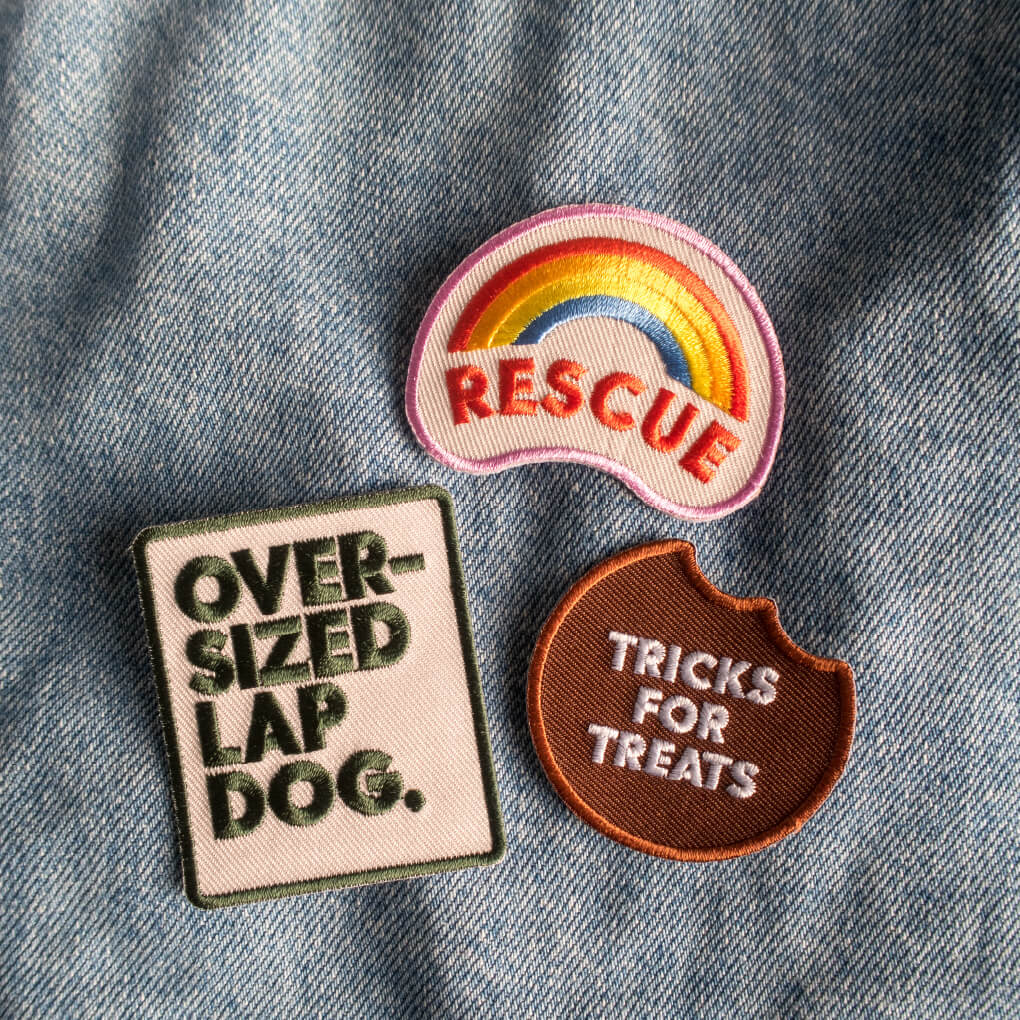
Patches were a dignified item for officers in uniform in the past decades. However, as time walks through, it evolves to be a fun and colorful part of fashion and style. Today, patches come in many types and designs, and one well-distinguished kind is the iron on patches.
What’s admiral about the iron on patch from the rest of the patch’s variety is that it is easily attached to any clothing. It appears to be way more sophisticated. A great easy way to vibe up a casual T-shirt, jeans, jacket, caps, purse, and even shoes. Because of the hype brought about by the custom iron on patches, many people are now thinking twice about getting rid of their old clothes. Considering that only a little creativity with an iron on patch can do so much refreshing.
Get to Know Iron on Patches
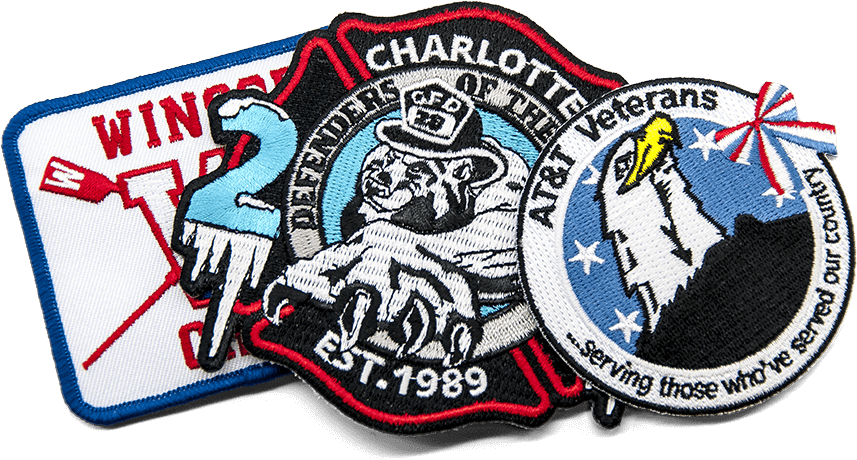
Admittedly, market choices vary when it comes to iron on patches. It can be overwhelming. However, you need to have some bits of knowledge on the types and what you need first before getting yourself ironed on the patch. First, you need to know what material to use. Or to what kind of material will you attach the iron on the patch. Consider that fabrics react differently when applied heat.
Material
Fabrics such as cotton can be one good option for iron on patches as it adapts to heat readily. It is proven durable and soft enough not to stiffen when applied with heat. Another fabric type that works well with iron on patches is the denim fabric. It is indeed durable and can withstand heat easily. But one thing you have to be careful about types of denim is the thicker ones. Be reminded that its thickness requires backing for the patches before you can apply heat over it.
Layout and Design
Understanding the efficiency of knowing the reactions of patches to certain types of clothing is a good start on selecting the best iron on patch for you. Though, many already have the designs in mind even before understanding this vital step. It is also crucial to pick a layout that matches the type, color, and fabric design to where the patch will be attached. It primarily depends upon your liking but keep in mind to always look for the design quality above anything else. Colors should be consistent, and the lines should be clear and well emphasized.
Sizing and Placement
The next thing to consider when choosing iron on the patch is the sizing and placement. Decide on the placing of the patch on the clothing first before dealing with the sizing. Knowing the patch area will give you an idea of how big or small the patch you need. It is said that the design of the patch matters most, but if it is not in the correct size, it will just ruin the overall look. Most areas patches attached are chest, back or front center, and on the sleeves. If you would choose to place the patch at the back portion of the shirt, you need to have a larger-sized patch rather than having it on the sleeves.
How to iron on patches?
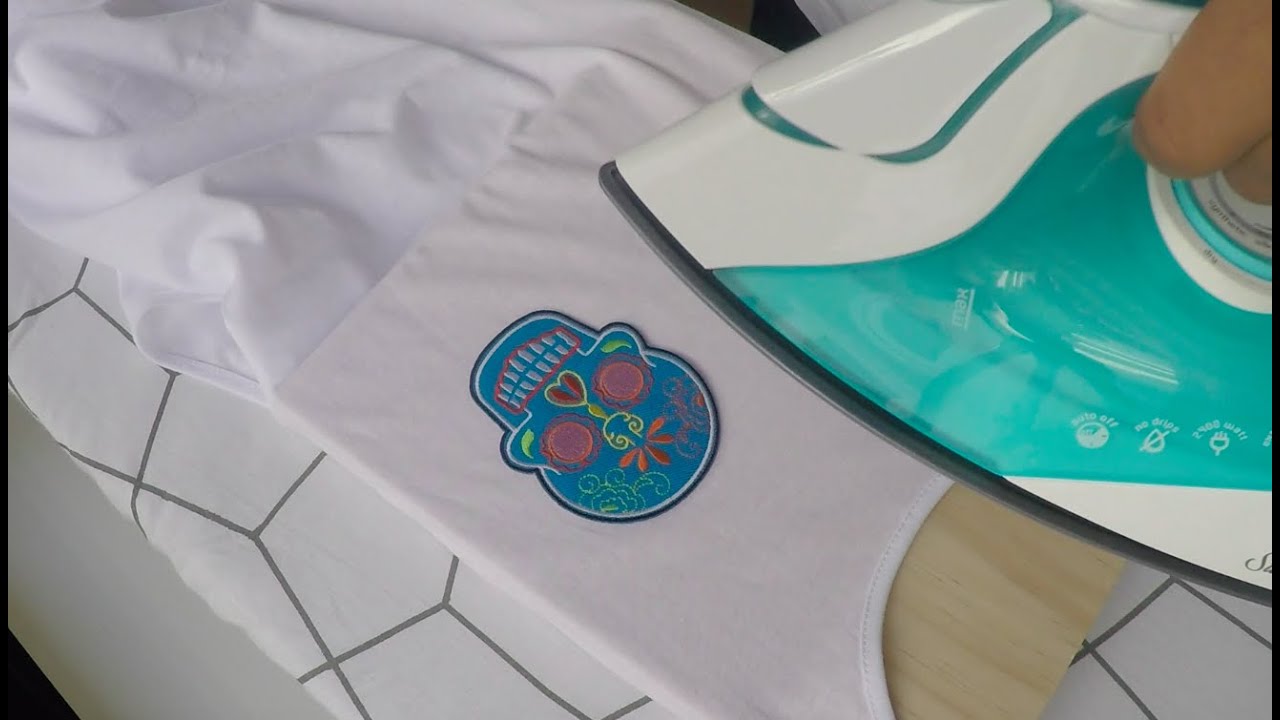
It is a fool-proof process, easy, quick, and even if it is your first try, you can perfect it the instant you do it.
a. Prepare the needed materials (patch, cloth, iron, and towel)
b. The next thing to do on how to apply iron on patches is to turn the iron to its maximum temperature.
c. Then, make sure to iron on the cloth area where you intend to attach the iron on patch to warm up.
d. Place the iron on patch right above the ironed part of the clothing.
e. Now, grab the towel and place it over the patch, covering the patch thoroughly.
f. Do a few rounds of ironing on the towel where the patch was under to make sure it sticks to the cloth rightfully.
Generally, these are all the steps needed. However, depending on the size and the type of iron on patch, there are specific keys that need consideration.
Tips on how to apply iron on patches
a. Know that some patches need more time ironing than the other types. For example, are the larger-sized iron on patches.
b. If you do not have the luxury of time in ironing larger patches, then choose the smaller ones. Smaller iron on patches for shirts are easier and quicker to iron and attach to clothing.
c. Read the instructions on how to attach the iron on patch is advised. This step allows you to ensure the patch are thoroughly attached and will last longer, even after more washes. If not attached properly, patches tend to wear out easily and stain the clothing quickly, especially when washed.
How to remove iron on patches?
Removing patches is not easy. Most of the backing is designed to stick to the cloth as much as it can. But, with great effort, there’s nothing impossible. So, there are two best ways. The first is by the use of iron itself, and the other is by the help of an adhesive remover.
Removing iron on patches with an iron
a. Before trying to remove the patch with the iron, check first if the cloth won’t be damaged by the procedure.
b. While preheating the iron, cover with wax paper or a thin towel a particular inconspicuous area of the fabric.
c. Slightly press on the towel or wax paper with the iron for about 10 to 15 seconds.
d. Then, check if the cloth shows any scorching.
e. If it shows scorching, then you have to stop this method and proceed to the other one. If it shows no signs of damage, you may proceed to the next step.
f. Cover the patch with a towel or wax paper and iron it.
g. For another 10 to 15 seconds, check the edge or any part of the patch. If there is a sign of softening of the adhesive.
h. Repeat the process if it does not soften the adhesive yet. Once it loosens, lift the edges with a tweezer from time to time.
Removing iron on patches with an adhesive remover
a. Turn the cloth inside out and find the back portion of the patch.
b. Apply adhesive remover on that part and gradually rub it with a rag or with your fingers.
c. After a few minutes check if there is some peeling between the patch and the cloth.
d. Continue rubbing at its back while slowly peeling the patch as well.
e. Add more remover to double up the efforts and faster peeling.
Where to buy iron on patches?
The worldwide web, for instance, has many things to offer when it comes to iron on patches. While most people are online nowadays, stores have innovated as well and catch-up with the trend. One competitive online store is 4inCustomPatch®. We offer iron on patches custom made, iron on patches wholesale, and bulk iron on patches that are sure thing high quality, and we also have a large range of product variety. 4inCustomPatch® have a convenient customization process and a fast delivery capability.
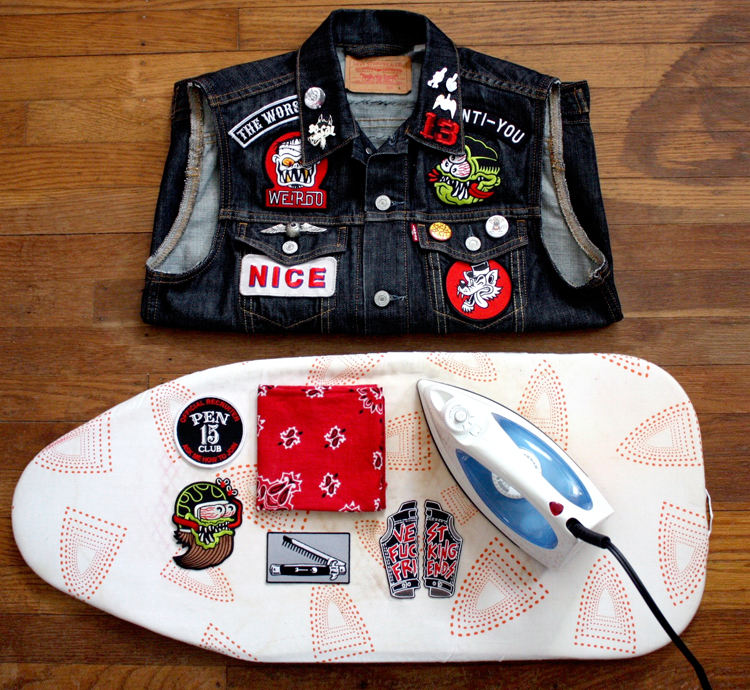
Here is a list of our primary iron on patches:
Embroidered Patches
Embroidered iron on patches gives a classic overall look with a rich texture. It is made by stitching threads onto the fabric backing. It comes in many shapes and sizes and even colors. This is best for simpler uncomplicated designs.
Woven Patches
This type of patch is best for small detailed, and complex designs. It is created by weaving threads onto the fabric backing. Its weaving technique gives that denser construction that allows a better level of details to display.
Chenille Patches
If you are up to 3D effects on your patches, a chenille patch is perfect for you. It is created with a vaulted yarn that makes it appear fluffy and textured. You can choose many layering options and a variety of colors.
Bullion Patches
Bullion Patches is for a more detailed and high-end finish. It is a combination of metallic beads, silk, velvet, and felt. Though it is still considered ideal for a simpler design it is highly distinguishable for that exclusivity feels that the woven metallic finish provides.
Printed Patches
This type of patch uses industrial printing to achieve the look. As a result, it showcases a more detailed output, with no color restrictions, and is realistic.
We at 4inCustomPatch® provide the largest options and best quality iron on patches in the market. Visit our web store for more designs and ordering details. We are sure to make it easy and fast for you! We specialized in the customization of patches. We are confident we can cater to anything you need when it comes to iron on patches.
